Tuesday, June 24, 2025

Laser cut terrain for boarding actions

The Need

Games Workshop's Boarding Actions supplement for Warhammer 40,000 is an excellent small-scale version of their main game. It includes cut-down lists for every faction which mitigates against the usual risk of skew that can occur in smaller points value games. However, they are sorely hindered by the requirement to buy (and build and paint) an expensive set of custom terrain that isn't much use for larger games of 40k.

Although there are 3rd-party alternatives for this terrain, including laser-cut patterns, they are not all that much cheaper thanks to the intricacy of the terrain components. To overcome this I've designed some simple 2D patterns that allow you to build the terrain layouts without the complications of large components. This takes advantage of the fact that the rules dictate that the terrain cannot be bypassed in any way: they cannot be climbed or flown over or seen over by any models. As a result, simple flat pieces can act like a map, indicating where movement and line-of-sight is possible and where it is not.

This also makes gameplay easier, as you can see exactly where everything is and it is easy to measure and move them.

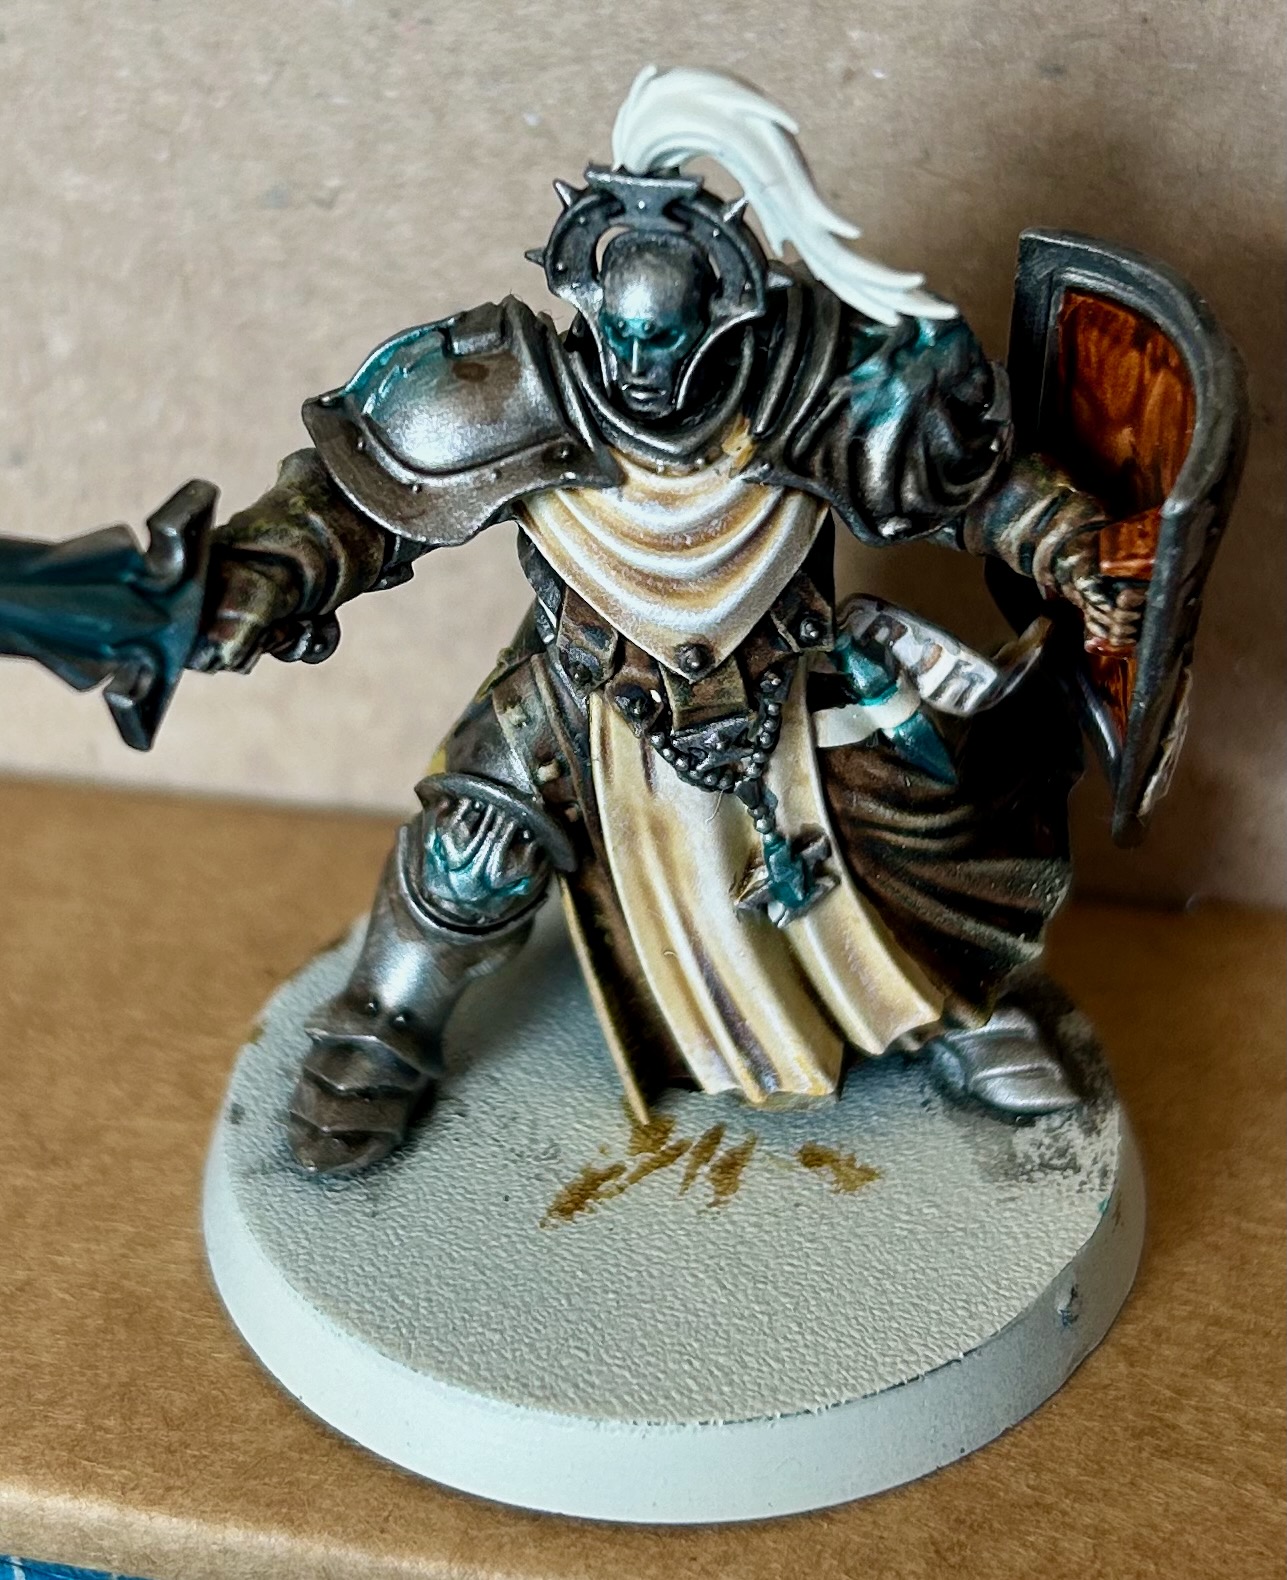
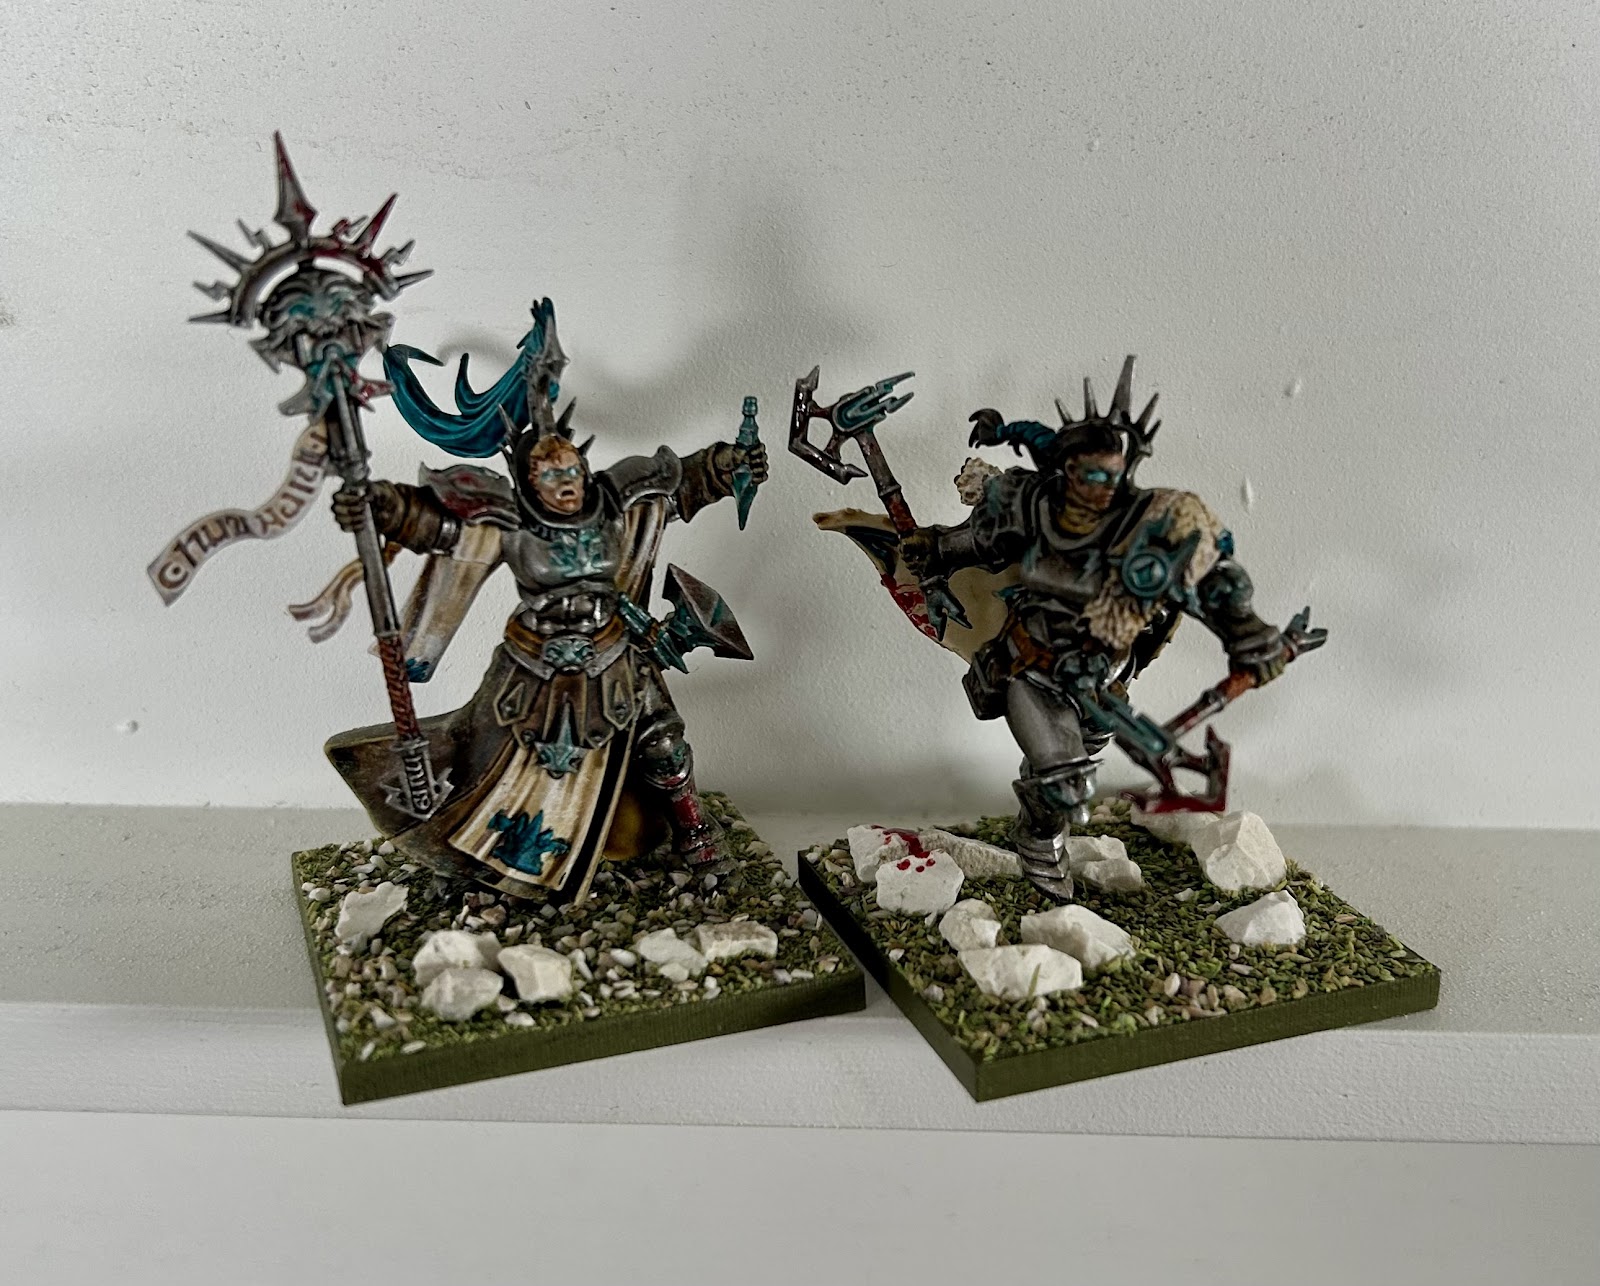
Skitarii discover the cause of Facility Omega-4397's silence.

The Design

Boarding actions terrain is composed of 1-inch square pillars separated by narrow bulkheads that are 72 mm long. These are laid out on a grid of squares, each 97 mm across. Why that size? Because then you can fit 12 squares across a typical 4-foot table (once you subtract an extra half-inch on each end for the end columns).

So my columns are 1-inch squares, with 2 mm radius corners. And I've decided to use magnets to connect them together; because the MDF will be 3mm thick, these will be 3⌀ x 2 mm magnets. Therefore, I've cut out 3 mm wide by 2 mm deep notches on three sides to accommodate them. (There are no four-way connections needed.)

The walls are 7 mm thick at the ends, wide enough for their own magnets, but with a 5 mm waist, mostly just for interest, but also to allow them to be used for a hatchway in a pinch. Speaking of which, the hatchways are centred in their bulkheads and about 30 mm wide. The 5 mm waist lets you easily judge where the edge of the hatchway is in order to adjudicate line-of-sight.

In addition, there's a circle cut into each hatchway to hold a magnet which will connect to the magnet in their corresponding hatch. Hatches are just simple 7 mm diameter hinges with 30 mm wide hatches, again with a circle cut in the hinge to hold a magnet. These hatches simply clip to the top surface of the hatchway and can pivot on their magnets to indicate them being opened or closed.

All components are connected to the frame by half-mm gates. I wasn't sure how thick these would need to be; they had to be thick enough to not have the pieces fall out early but thin enough to be able to punch them out easily. As it turns out, the half-mm gates were good, with a couple of pieces coming loose during preparation but otherwise holding together and then punching out in a quite satisfying way!

Here are the Thingiverse files for download if you want to try for yourself.

The Build

The print was nice and clean. There are lots of little negative-space pieces: the magnet holes, rounded pillar corners and hatchway waists. They can be pushed out easily with the help of something pointy. And I found the waist sticks useful for applying glue in the next step.

Freshly printed in 3mm MDF with negative-space pieces removed and magnets ready.

The hatch and hatchway magnets can be glued in while everything is still on the frame. It was quite tricky to position them so their 2mm thickness would sit in the middle of the 3mm thick MDF. It would probably be easier if 3⌀ x 3 mm magnets were used. I just used ordinary PVA glue: not ideal for gluing metal, but much easier to work with and clean up than anything else.

Now with hatch and hatchway magnets added, ready for undercoating.

I had intended to glue the other magnets in on the frame, too. But it was difficult enough getting the hatchway magnets in place without them attracting each other out of position, so I ended up gluing them into place after punching the pillars and bulkheads out. Still a tricky job, but much easier.

Before that, however, I undercoated the whole lot with Leadbelcher spray, then sponged on Skrag Brown to give them a rusty texture. Then, to make the hatchways more visually distinctive, I painted them yellow (over an off-white undercoat). One advantage of designing your own builds is you can build things like stencils measured out precisely to suit the design. I've done this for some nice hazard stripes for the hatchways, simply cut with a sharp scalpel from standard printer paper, then sprayed black.

Hatchways with yellow waists painted

Hazard stripe stencil (printer paper) and applied stripes.

The Layout

I tested out the build with the first map, "Access Junction Primus". Although Games Workshop's set comes with a gridded pair of boards to set everything out on, it was easy enough to lay everything out on an open board. Helped by the fact that my board is exactly 4 feet across, and a little care measuring separation of the components, it all came together nicely and the magnets work very well to hold everything in place. I'll cut out some 97 mm square vinyl markers to demarcate the entry zones.

Overview of "Access Junction Primus"


Wednesday, November 13, 2024

Painting Stormcast Ogres

 Painting Stormcast Ogres

It's funny how creative inspiration works, sometimes. I've been trying to find a painting scheme for my Stormcast for some time now – I've never liked the garish golden armour of many of the storm hosts, and even the silvered metal of the others has always seemed a bit too bland.

But when it came to painting them as a stand-in for Ogres in Kings of War things suddenly came together. I started looking for ways to make them look the part, so the metal became darker, the coats became heavy leather, the extra detail was picked out but not exaggerated, so they don't look so over-the-top. Finally, a splash of gory blood on them helped them fit the role of brutal, efficient brawlers.

I started off with a Wraithbone rattle can undercoat, then painted the cloth with Skeleton Horde followed by a dry brush with White Scar. Doing this first means the messy dry brush just adds extra white highlights to the other areas!


Next is the heavy leather which starts out with a generous coat of Wyldwood, and Aggaros Dunes on the inside. 

Contrast paint is fantastic on minis with lots of texture; ironically, that doesn't apply to GW's headline ranges: both 40k's Space Marines and AoS's Stormcast have large areas of more-or-less flat plastic that don't take Contrast paint well. You can see this particularly with the back of the coat on this figure, and was a key problem I had with earlier schemes.

Fortunately, this scheme wants the result to be messy! These are rough and brutal ogres, not shiny Eternals, so I'm not unhappy with how this appears, and it improves with the next step…


This is another dry brush, this time with Zamesi Desert. Have to be more careful with this one in order not to get any on the cloth, but that's not too hard.


I also painted the inside of the shield with Gore-Grunta Fur. Using vertical strokes and leaving tide marks between them creates a quick impression of wood grain.

Next is a big step: a smooth layer of Iron Hands Steel. I prefer this over Leadbelcher as it is warmer and a bit brighter. All armour, weapons, shield edge and facing, jewellery and the little flask were base coated with this. Aethermatic Blue was added to the eyes, shoulder pad, anvil, flask, sword, lightning on the shield … anything that could conceivably be glowing. (Note that the photo shows the shield a lot bluer than it is – that's a reflection of the blue cutting board it's sitting on!)


Then a generous coal of Nuln Oil was applied, followed by measured amounts of Agrax Earthshade. I want the metal to look heavy and well used, but not rusty. 

I've also highlighted the edges intermittently with Runefang Steel. I don't like spending a lot of time on edge lining, so just used enough to help pick out details.


Finally, the remaining details were completed. Scrolls were given an extra white highlight and the plume was painted with Akhelian Green – this reinforces the Aethermatic Blue nicely and gives the whole scheme a consistent emphasis. The belt was done in Snakebite Leather in order to contrast with the Wyldwood coat, and some Blood For The Blood God was splashed around; possibly a bit much on this model, I've generally kept it notable but low-key.

Ironically, the end result would probably have been just fine as, say, an isolated strike force stranded in Ghur, trying to fight its way to some objective, or maybe just back to civilisation. I may end up painting my remaining, valid Stormcast in exactly the same scheme. 

Ogre Warrior Regiment

Ogre Warlock and Berserker Bully

But for now I'm motivated to pull together all the obsoleted models into a Kings of War army, starting with a small Ambush force, but building to a full 2000 points, for which I already have enough. Though I am tempted to get some Greeks to supplement them…


Tuesday, April 9, 2024

Using Stormcast in Kings of War

 Exile


On 4th April, 2024, Games Workshop announced the imminent removal of entire ranges of models from the new version of Age of Sigmar. Included in this removal were many of the early Stormcast Eternals models.

I'd amassed a modest collection of these models, mostly from the Soul Wars release box, and wanted to find an alternative use for them rather than just relegating them to storage. However, the bulky, oversized build of the Stormcast range would make it difficult to find a good home for them – you couldn't use them in a skirmish game, for example, because they'd be far too big sitting alongside ordinary, human-sized models.


The Search For A Home


Maybe I could find a way to make them fit in with Kings of War's multi-bases – large bases holding a full formation of models. If I could find a faction that would reflect the style and variety of the Stormcast range I could bring my figures to the table again.

The best fit for the theme of the Stormcast is definitely Kings of War's Basileans. These are heroic humans with angelic allies and definitely have some good parallels. However, the bulk of their army relies on ordinary infantry, some with heavy armour, but some more modestly equipped. And, even with the flexibility of the multi-base, trying to pass off half-a-dozen Stormcast as a mass of twenty soldiers just stretches things a bit too far. 

On the other hand, some of their larger options definitely do fit: Prosecutors should work as the angelic Elohi, and the Ogre Palace Guard can be replaced by…almost any of the melee Stormcast infantry. And in the end that's the problem. You can't make a whole army with predominantly Palace Guard, and you won't be able to take advantage of any of the variety within the Stormcast range.


Photo of 5 Sequitors alongside 6 Ogres showing how similar in size they are.
Size comparison between Sequitors and Mantic Ogre warriors. 
The plastic cards under the Sequitors are 40 mm x 120 mm, as required for Large Infantry.


Ogres To The Rescue


But what if you just use them as ordinary Ogres? The core of the Ogre faction in Kings of War is built of a variety of large infantry units – would they match the Stormcast range? The answer is, yes, surprisingly well. Here's how I see them mapping:

  • Liberators with shields become Siege Breakers
  • Liberators with dual weapons become Berserker Braves
  • Sequitors become Ogre Warriors
  • Castigators become Boomers
  • Judicators become Shooters
  • Evocators become Hunters

That's a great match, covering the core of the Ogre faction, and giving a place for most of the deprecated range. The Evocators are probably the worst fit, but I explain the Hunters' abilities as due to their magical powers. 

Some of the remaining models are still best represented by Basileans. Fortunately, they can be taken as allies in an Ogre list:

  • Paladins become Ogre Palace Guards
  • Prosecutors become Elohi
  • Celestar Balistas become Heavy Arbalests

That covers all the infantry units! The Evocators on Dracolines are the only non-character units remaining, and you could probably use them as chariots. Not a perfect fit, but the scale is about right.

The infantry characters translate over reasonably well, too, standing in for any of the Ogre heroes. I've got a couple of Lord-Arcanum on Gryph-charger models, which are a bit trickier. I think they're best for non-Hero units, either a Mammoth (especially The Big Deal!) or a Red Goblin Slasher.

Looking in the other direction, which models in the Ogre army can you not easily represent? It would be difficult if some key unit were missing. Here's the list:

  • Red Goblin Rabble, Sharpsticks and Spitters
  • Red Goblin Scouts and Scout Sniffs
  • Crocodog Wrangler
  • Red Goblin Blaster
  • Giant
  • Red Goblin Biggit
  • Kuzlo and Madfall

The Sharpsticks and Scouts are probably the most desirable units from that list. Big Sharpstick units can help to fill out board space cheaply, allowing concentration elsewhere; Scouts provide cheap, mobile units for screening or playing the mission, or occasionally hitting something soft where it is vulnerable.

So how do we fill them out? You could use goblins, of course, but they'd look out of place alongside Stormcast. Alternatively, any Cities of Sigmar or Empire spearmen would work for the Sharpsticks, maybe painted up as ratty militia to match the poorer quality of the goblin infantry. Maybe a similar approach using Brettonian squires for the Scouts?

I don't have anything like that, though, so I'm tempted to grab a bag or two of cheap Victrix spearmen and cavalry – some nice classical designs that echo the style of the Stormcast might suit, perhaps?


Construction


All of the infantry are classed as Large Infantry in Kings of War. This means they'll all be based the same, depending only on the size of the units:
  • Heroes will be 1 figure on a 40 mm x 40 mm base
  • Regiments will be 3 figures on a 120 mm x 40 mm base
  • Hordes will be 5 or 6 figures on a 120 mm x 80 mm base
Those numbers are convenient, matching typical minimum unit sizes in Age of Sigmar.

You should try to keep all the weaponry on a base the same: all Sequitors with great maces on one base (Ogre Warriors with two handed weapons), for example, while all the Sequitors with shields should be on another (ordinary Ogre Warriors). That said, a little bit of mixing is acceptable, so long as it is clear what they represent.

Take advantage of the generous base sizes to pose the models in a dynamic manner, try to make them look like they are fighting together. Adding lots of scenic detail can help liven them up, too.


Example Vanguard Army

Vanguard is the equivalent of Combat Patrol or Spearhead for Kings of War: rules for playing smaller games, including army building restrictions. Normal armies are ~2000 pts; this army is 750 pts.

1 x regiment of Ogre Warriors
1 x regiment of Ogre Warriors with two-handed weapons
1 x regiment of Ogre Boomers
1 x regiment of Ogre Hunters
1 x Ogre Warlock
1 x Berserker Bully

To some extent, this is just a list of the main Sacrosanct Chamber models, but it should fight just fine. I've got the old Neave Blacktalon, which is a fantastically dynamic model, so I'm using her as a Bully. You could substitute in any melee hero, maybe as a Sergeant instead.

Mantic has an online army builder that can record up to two army lists for free, perfect for one Vanguard and one normal army.


Laser cut terrain for boarding actions

The Need Games Workshop's Boarding Actions supplement for Warhammer 40,000 is an excellent small-scale version of their main game. It in...